
A beginner’s guide to composting at home
 — Recommendations are independently chosen by Reviewed’s editors. Purchases you make through our links may earn us a commission.
So you’ve mastered your outdoor gardening skills and upped the ante on your cooking and baking skills. For your next stay-at-home project, you may be looking to branch out and take the leap into composting for the first time.
Where should you start? The good news is that composting isn’t just for the garden-savvy. As long as you understand the basics, you can easily turn food and yard scraps into treasure.
“Any experienced gardener will tell you compost is worth its weight in gold,” says Michelle Balz, author of Composting for a New Generation. “It is quite expensive [to buy], but you can make it yourself with the garbage you’re creating every day.”
At its core, composting is the process of breaking down organic material to create rich, valuable soil that works to build depleted soil back into a thriving ecosystem. One obvious benefit is the impact on soil for gardening—the nutrient-packed soil will allow your flowers and produce thrive.
Composting also proves to be a sustainable waste solution, too. “About a third of the garbage that we create can be composted,” says Balz. “Just by taking care of that by yourself, you’re reducing the amount of garbage, which ends up decomposing anaerobically [in the landfill]. That means it’s creating methane, which is a strong greenhouse gas.”
Before trying composting at home, here’s a rundown of the basics.
What you’ll need:
- Compost bin
- Kitchen scraps
- Natural yard scraps, like leaves and grass clippings
- Rake, shovel, or a tool to use for mixing
Step 1: Choose your method

First, evaluate whether indoor or outdoor composting will work better for you—this will greatly depend on the kind of outdoor space you have.
If you have a yard, outdoor composting can be the most efficient method. “Decide if you have a spot in your backyard. Ultimately, that’s the easiest way,” Barz recommends. This allows for options like open composting, which works with the soil you already have in your backyard.
This isn’t to say that indoor composting isn’t a great option—in fact, it is ideal for anyone living in an apartment or those composting during colder winter months.
Vermicomposting—aka worm composting—is a popular type of indoor composting, which involves adding what’s known as redworms (or red wigglers) to your bin. Pros say these redworms can do wonders in helping break down your pile. “They’ll eat nearly half their body weight in food scraps,” says Barz.
Step 2: Select the right bin

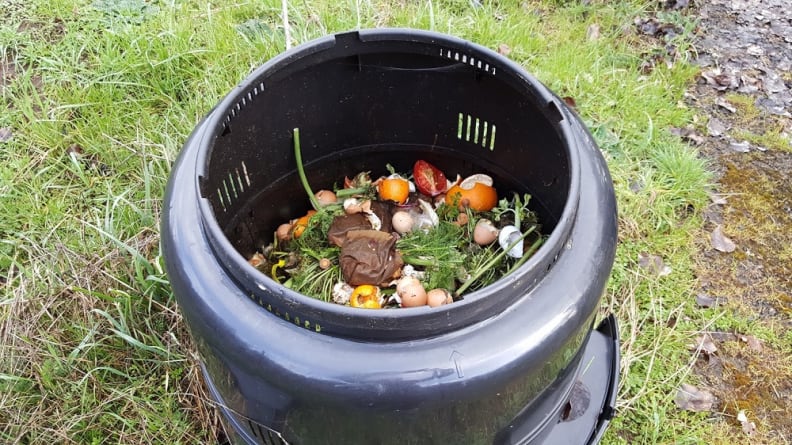
Batch composters can help to speed up the compost process.
The key to good compost is adequate aeration and moisture. A compost bin or composter should be able to provide both. Air and moisture are key elements in keeping the creatures living in your compost happy, allowing them to help decompose the matter.
For first-time users, there’s nothing wrong with going for something simple. “There are relatively inexpensive bins that work really well,” says Balz. “If you’re getting started, you can use a traditional bin that sits right on the ground and exchanges with the soil of your backyard.”
If you’re open to a more advanced option, batch composters can speed up the process and keep the mixture protected from the elements and pests. Keep in mind, you’ll need to check in with this type of bin frequently to ensure the soil remains moist.
This best-selling batch composter from The Home Depot has adjustable air vents to get just the right amount of ventilation.
For indoor use, you can stick with a stainless steel bowl, a bucket, or a small trash can that can be kept on the counter or stowed away. A big rule of thumb is to make sure you have some sort of covering or lid for the bin to contain any odors.
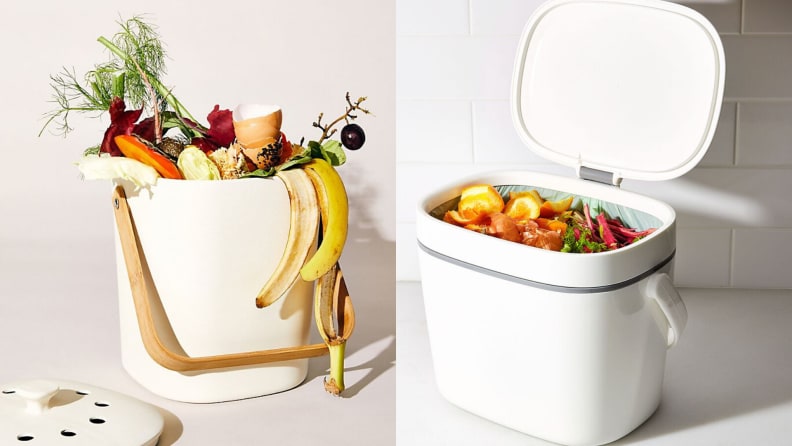
Try an indoor composter that adds a sense of style to your home.
If you’re looking for something with style, go for this indoor compost bin that makes for a trendy (and odor-proof) option.
For an indoor bin that allows for aeration, this adorable bin from Anthropologie is highly rated thanks to its functional carbon filter that works to keep odors at bay.
And, if you’re looking to expend some DIY energy, try building your own bin. Large storage containers or trash cans are a great option for the outdoors—you just need to drill or puncture holes throughout the container to maintain that healthy aeration. For the indoors, any bin of your liking with a lid or cover will do.
Step 3: Compile your materials
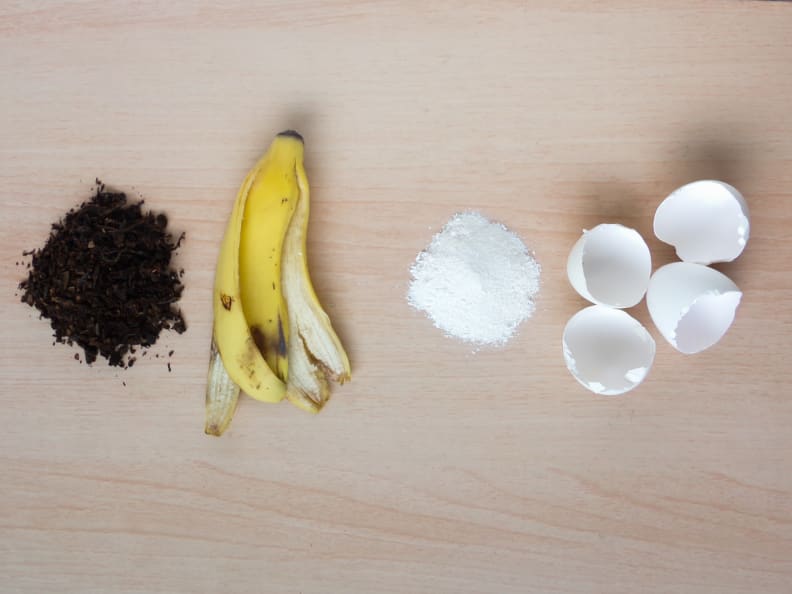
Kitchen scraps, like vegetable peels and eggshells, are great for composting.
When it comes to the materials you can toss into your compost, you’ll want to have a healthy mix of “green” and “brown” organic matter. Green matter includes food waste that’s high in nitrogen, while brown matter includes outdoor scraps that are high in carbon.
Striking the balance of green and brown matter is what makes a successful compost pile. “The biggest mistake that people make is that they don’t balance their food scraps [green matter] with brown material like leaves,” says Balz.
Keep in mind that there are items that should never be composted, because they can attract pests and even introduce diseases into the soil.
Use:
Fruit and vegetable scraps
Eggshells
Plant and grass clippings, including houseplants
Yard waste, including dry leaves and branches
Cardboard or paper without color
Nutshells
Hay and straw
Wood chips
Don’t use:
Meat, fish, or eggs
Dairy products
Oils or greases
Human or animal feces, including litter
Diseased plants
Coal or charcoal
Any yard waste treated with chemicals or pesticides
Step 4: Build and maintain your compost
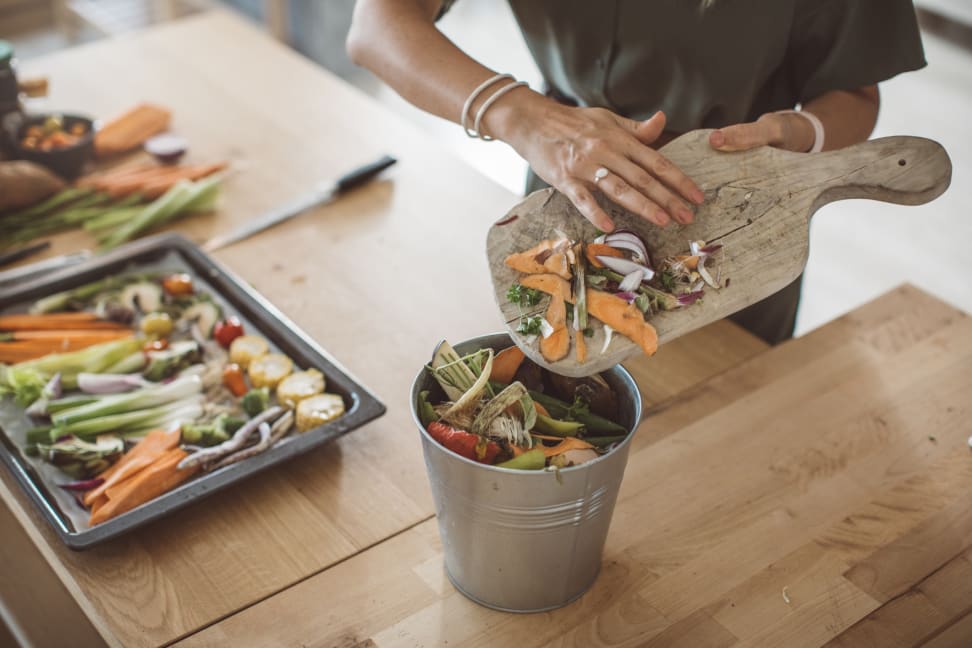
Outdoor composting is easy to do and good for the environment.
Get started with brown matter first for a solid base.
“Leaves are such an easy way to compost,” says Balz. “Start with a foot or two of those in the bin—shredding them up and making them smaller will make them decompose faster.”
Next, layer on your green matter, including your food scraps, coffee grounds, and other waste that’s okay to add. Continue to create layers upon layers of compost until you get a healthy pile going. Balz recommends burying your food scraps when layering to prevent attracting fruit flies and creating a strong odor.
As for keeping and caring for your compost, maintenance is pretty minimal. You’ll want to mix it up every few days to keep that aeration flowing throughout. Use any shovel or rake to shake and blend it. While mixing, be sure to check on moisture levels as well—if it feels like it’s lacking moisture, feel free to carefully add water to the mix.
A final, finished compost product can take anywhere from a few months to one year to create. Be patient with your home compost and don’t be afraid to experiment until you get it right.
Related content


The product experts at Reviewed have all your shopping needs covered. Follow Reviewed on Facebook, Twitter, and Instagram for the latest deals, product reviews, and more.