
9 Fast-Growing Vegetables and Herbs to Pep Up Your Pantry Menu
Sometimes slow and steady does not win the race. Like all those little kid gardeners, there are occasions when even the adults tire of waiting long periods to see sprouts, or taste the fruits (or should I say greens?) of their labor.
That’s where fast-growing vegetables and herbs can really come through for you.
I’ve found that I’m impatient for a bit of green to add to my sandwich and rice bowl basics at the start of the growing season. I also love having a garnish or flavor boost from my garden to pep up staples from the pantry.
Heirloom tomatoes, winter squash, and homegrown brussels sprouts are great, but who wants to wait three months or more before you can get your first taste from the garden?
So I grow both the long-term heavy producers for a later harvest, and the pea shoots, radishes, sweet potato slips, and other fast-yielding items that will allow me to add a taste of my garden into the saute pan, pronto.
It’s no accident that many of my suggestions are the same seeds recommended for getting the kids started with gardening. They also feature in some of the best indoor gardening kits, for a quick harvest in a small space.
But instead of labeling these as unsophisticated garden picks, I like to think of them as edibles that can give gardeners of all ages a childlike sense of wonder early in the season, with very little patience required.
And all of these quick-growing veggies and herbs have the added advantage of being container-garden standouts. Anyone with a small patio, windowsill, or section of sunny rooftop (long as it’s okay with your landlord!) can quickstart a spring harvest.

Many of my picks also produce mature leaves, fruits, tubers, or dry seeds you can harvest later in the season. Not only will they provide your first homegrown taste of spring, some will provide garden-fresh goodies throughout the season as well.
Without further ado, since I know you’re as impatient as I am to start harvesting, here are the fast-growing vegetables and herbs I’ll be sharing with you:
9 Quick-Growing Vegetables and Herbs for Fast Yields
Keep in mind, for that early-season homegrown taste sensation, you’ll want to focus on garden plants that are fast-yielding. Some vegetables and herbs may grow quickly, but they won’t be harvest-ready for many months (pole beans come to mind).
Here are nine vegetables and herbs that will produce an edible harvest quite quickly – some within just a couple of weeks. Several of my top selections even include extra quick-producing cultivars. So keep reading!
1. Arugula
Who knew it was so simple (and inexpensive!) to grow this darling of the cafe menu and salad bar.
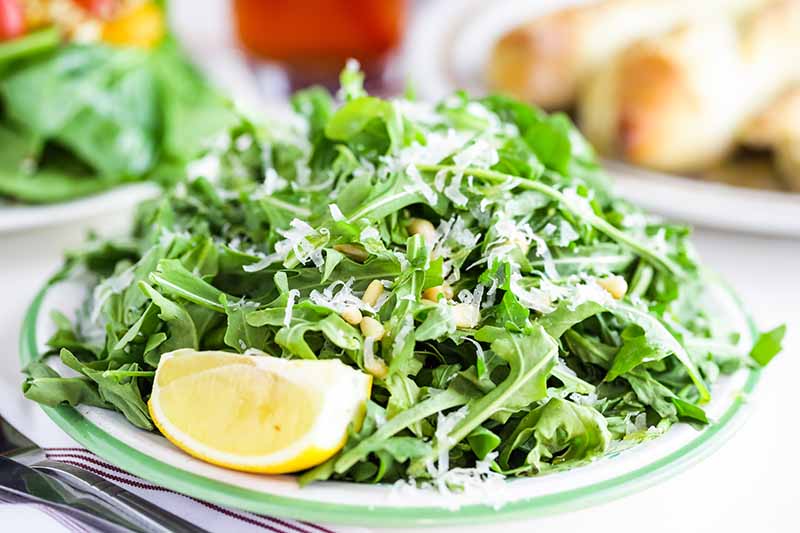
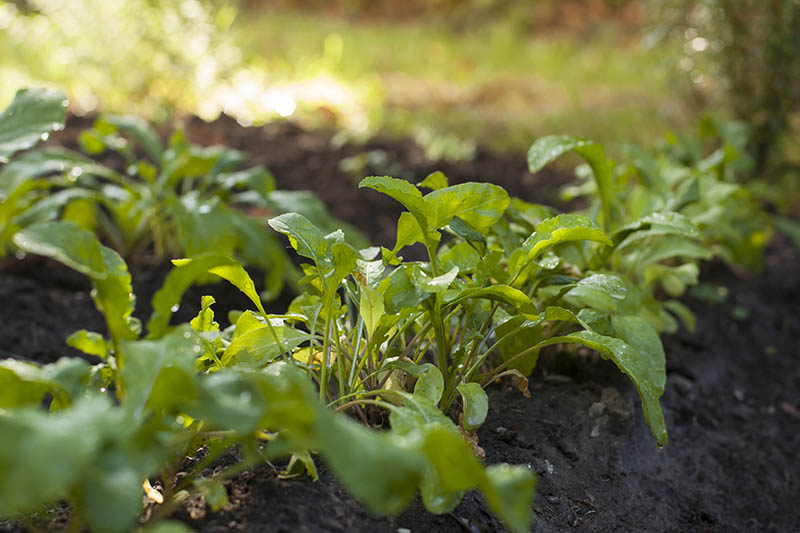
Also called roquette or rocket, arugula (Eruca vesicaria) is easy to sow from seed in USDA Hardiness Zones 3 to 11.
Just pop the seeds in the ground as soon as the soil can be worked and they usually germinate within a few days. You’ll be harvesting fresh leaves two or three weeks after that.
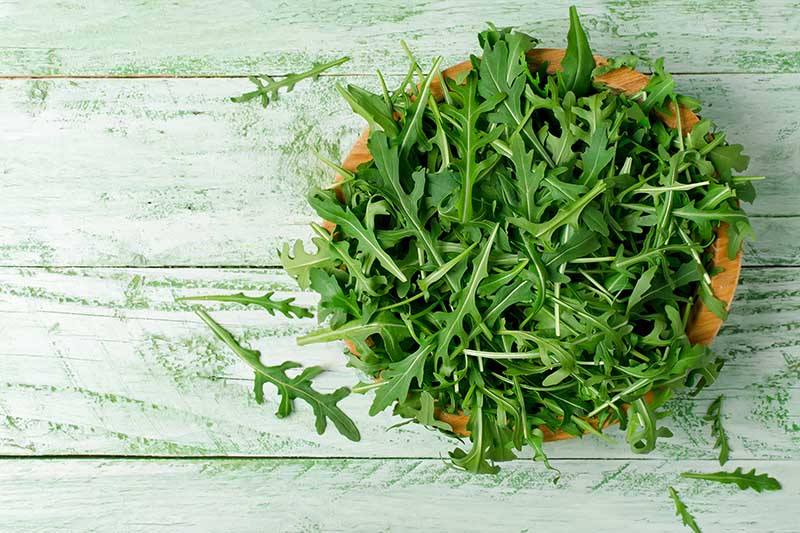
The ideal time to pick the leaves is when they’re about 2 inches tall.
If you let arugula shoot up higher than that, it will taste extra sharp and even a bit bitter, but many cooks and foodies still enjoy the tangy taste piled on pizza slices or torn into small pieces for a salad.
In general, though it’s counterintuitive, the “wild” variety of arugula is milder-tasting.
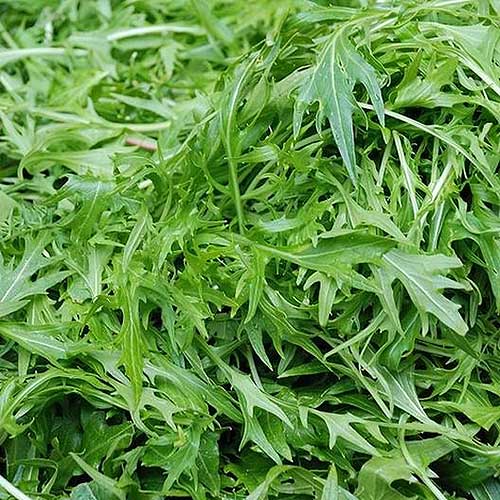
You can find ‘Wild Rocket’ seeds in a variety of packet sizes from Eden Brothers.
Check out our arugula growing guide to start your own patch or container of this fast-yield salad favorite.
Arugula is the ideal choice for people who decide on the spur of the moment to grow something edible in early spring.
It can handle almost any soil, thrives in containers, and grows at (pardon the pun) rocket speed.
You can find a large selection of arugula seeds available at Eden Brothers.
And for more inspiration, check out 9 of our favorite varieties here.
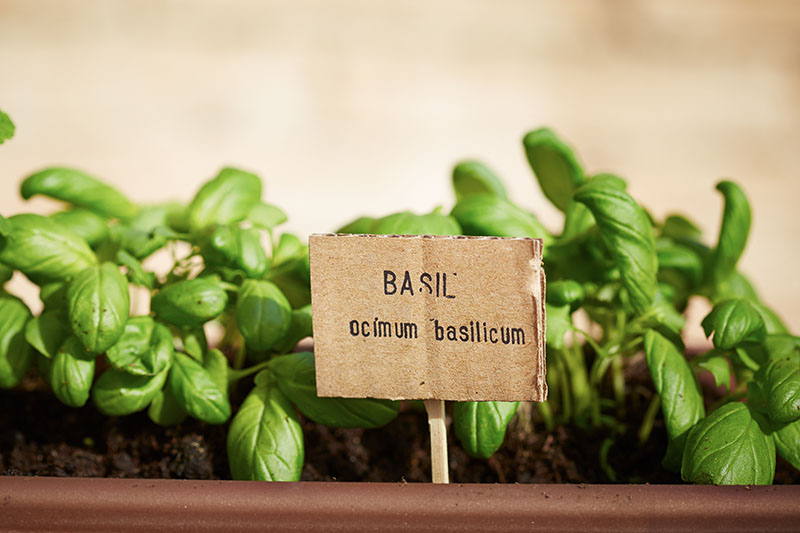
2. Basil
Most of us home vegetable gardeners admire basil, Ocimum basilicum, for its characteristic scent, and ability to elevate a variety of dishes from caprese salad to bruschetta to minestrone.
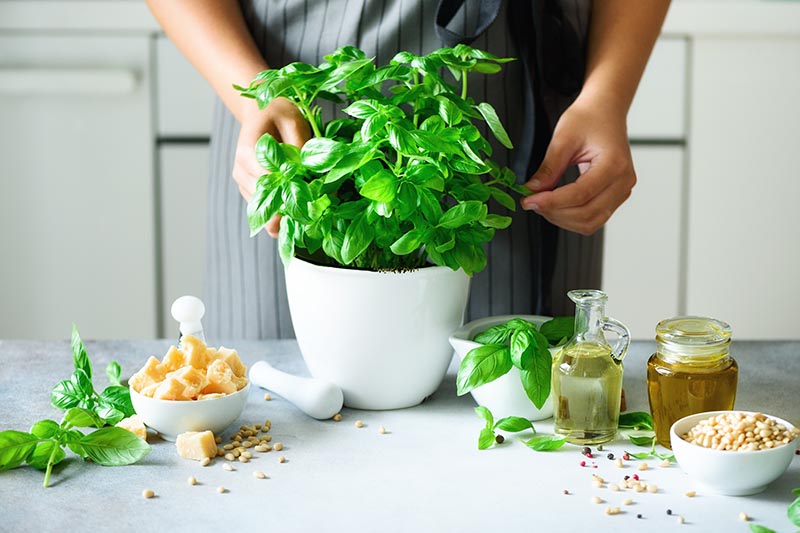
But did you ever think of basil as a quick-yield crop for your garden?
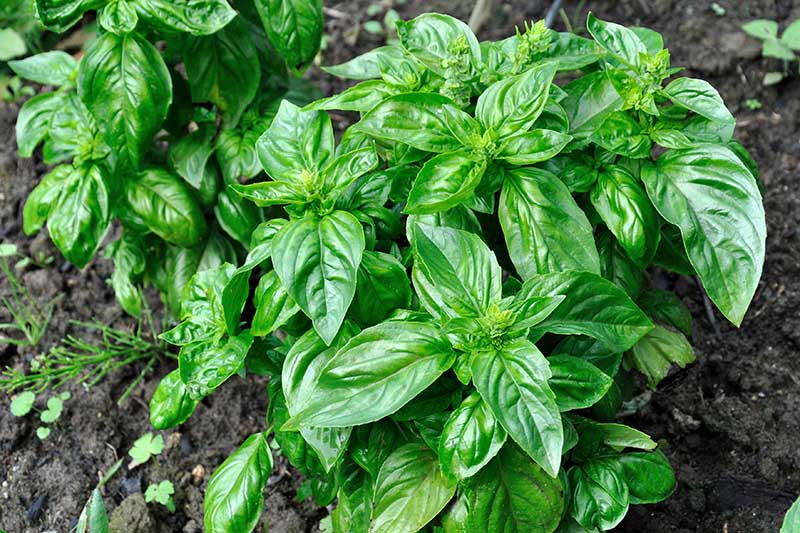
Basil is hardy in Zones 4 to 11, and you can grow it as a perennial in Zones 10 and higher.
Since the seeds sprout in 8 to 14 days, and produce a few sets of true leaves between 16 and 25 days later, basil is a great choice for adding quick flavor to your culinary creations.
Basil microgreens make a tasty addition to spring salad mix.
Young basil shoots are also handy for flavoring butter, tossing with pasta, or garnishing some of those frozen or canned vegetables or soups that feature so prominently in the end-of-winter (or quarantine) menu.
For more ways to cook with young basil leaves, feel free to browse our sister site, Foodal for inspiration.
For an extra quick harvest, plant several seeds close together, and eat the ones you thin – while you wait for the others to mature.

Learn more about how to propagate basil in this guide.
You can start harvesting leaves from the young plants when they are a couple of weeks old, although you’ll want to wait until your basil has at least two sets of true leaves before snipping a couple here and there, always from the bottom of the plant.
To learn all the best practices for this ever-popular Mediterranean herb, check out this guide to growing basil in your herb garden.
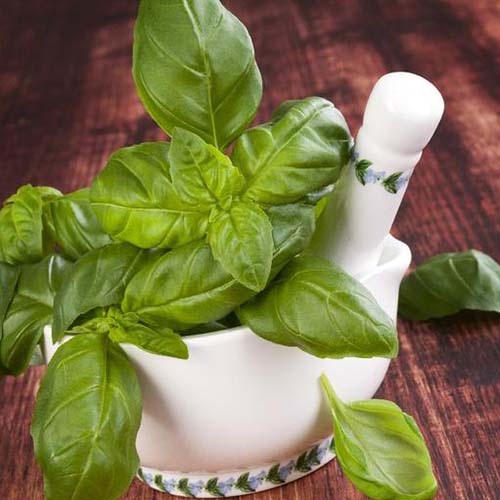
Through every stage of the process, remember that basil is one of those home garden crops that just keeps on giving.
You’ll start your harvest with some microgreens or the young sprouts you thin from your basil patch. But as the plants grow and mature, they’ll provide increasingly larger leaves for pesto, followed by edible blooms.
If you’re thrifty, you can even save the mature stems to add to broth, or to flavor vinegar or cooking oils.
If you grow the purple-leafed ‘Dark Opal’ cultivar, you’ll also want to cut some flowering stems for bouquets and sweet-smelling flower arrangements.
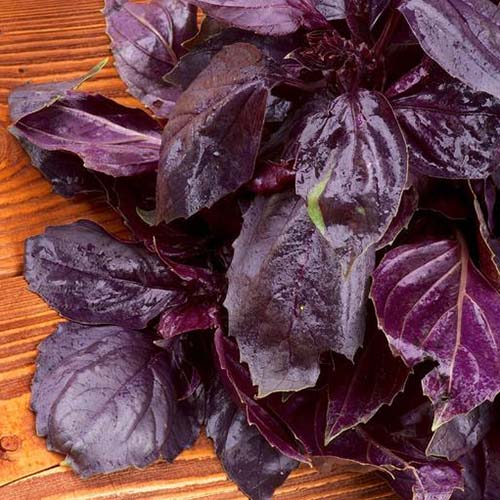
Find seeds for ‘Dark Opal’ basil in packets of various sizes at Eden Brothers.
And be sure to dry and save some basil seeds for planting next year.
Once you discover early-season basil, growing it is habit-forming. By the beginning of next year’s growing season, you’ll want all the basil sprouts you can get.
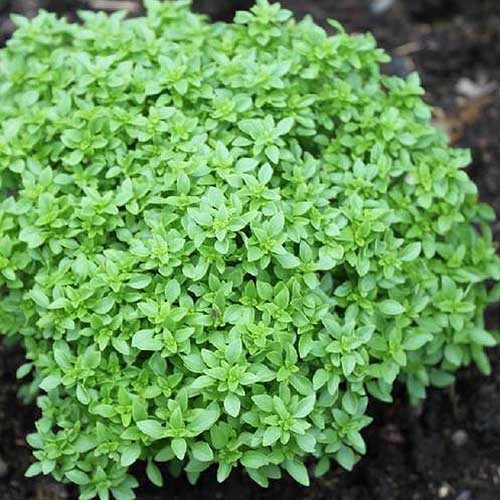
The fast-maturing cultivar ‘Spicy Globe’ is ready to harvest almost two weeks earlier than the typical ‘Genovese’ or lettuce leaf basils.
It’s got tiny leaves and should be harvested early, since it loses flavor as soon as it starts to bloom.
Find seeds for ‘Spicy Globe’ in various packet sizes available from Eden Brothers.
Other basil varieties mature faster still, like ‘Piccolino,’ which grows to full size in just 45 days. This cultivar is not as widely available as ‘Spicy Globe,’ but if you do come across some seeds, they’re a great choice.
You’ll find a wide selection of basil seeds available at Eden Brothers and True Leaf Market, including basil microgreen selections.
Or if you want to get a jump on the growing season, you can buy a set of three seedlings at Burpee.
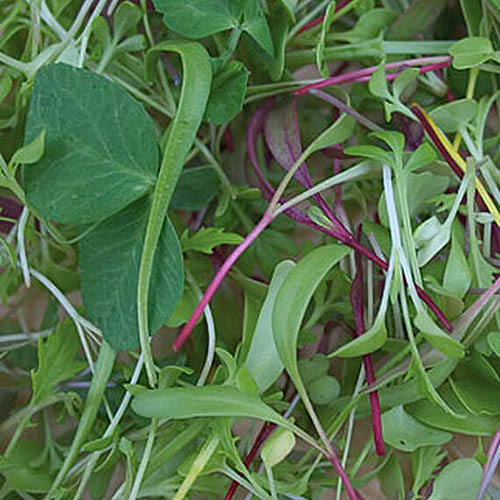
3. Microgreens
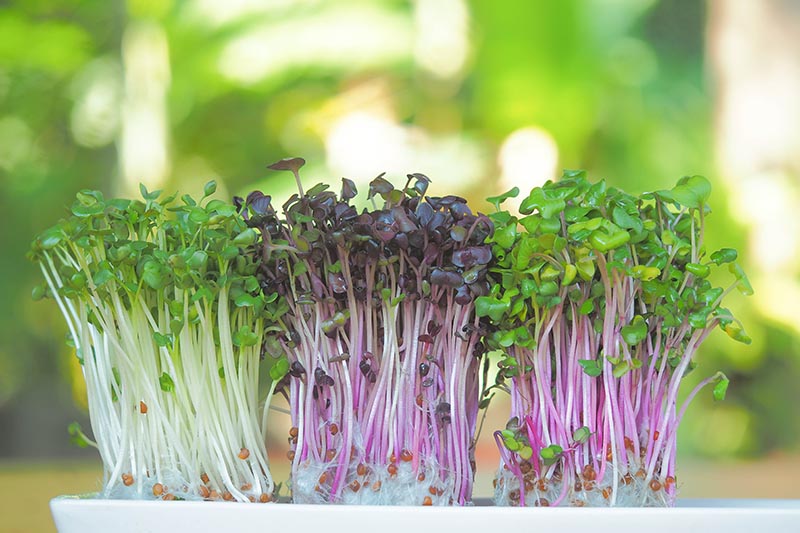
Sure, they’re tiny, so you can’t use them to stock your veggie bin. But microgreens are quick to sprout and grow to the perfect size for salads, garnishes, and smoothies.
A typical microgreen mix can include anything from cilantro and radish to kohlrabi, kale, and arugula.
Not only are they simple to grow, you can make sowing microgreens a quick weekly gardening job, and have a supply available from early spring all the way to late fall.
In hot climates, you may want to skip growing microgreens in the heat of the summer months, unless you keep them indoors. Like lettuce, they can begin to taste bitter when the weather gets too warm.
Depending on how far you want to go with this particular gardening pursuit, you can invest in trays with grooved trenches, such as this one from True Leaf Market, that allows you to grow your microgreens with almost no soil at all.
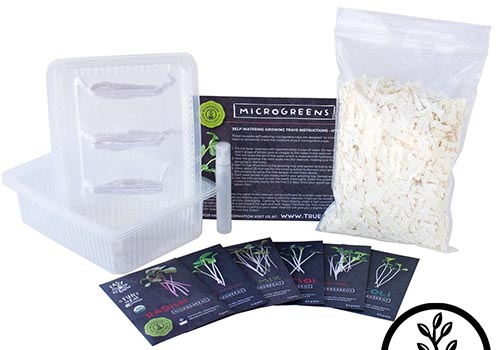
Self Watering Microgreens Kit from True Leaf Market
The kit contains everything you need to get started, with two self-watering trays, six seed varieties, including Basic Salad Mix, Broccoli, ‘China Rose’ Radish, Red Tatsoi, and Spicy Salad Mix. In addition, it includes 4 ounces of hydroponic growing medium, enough soil for 4 crops, a mist sprayer, and full instructions.
Check out this microgreen starter kit now at True Leaf Market.
Even a beginner grower can press a few microgreen seeds lightly into damp seed starter soil and set their tray on a heat mat indoors.
Odds are good that you’ll have a few tasty additions to your salad or smoothie ready to enjoy within 10 days for some varieties, like sorrel.
The maximum time from seed to edible microgreen is about 30 days, depending on what you choose to grow. This guide to growing microgreens will give you the nitty gritty on everything from seed selection to recipes for enjoying what you grow.
You can find 400-seed packets of a microgreen blend that includes ‘Detroit Red’ beets, ‘Pak Choi’ cabbage, ‘Purple’ kohlrabi, ‘Di Cicco’ broccoli, and ‘China Rose’ radish at Burpee.
Or find other individual varieties and blends in packets of different sizes at True Leaf Market.
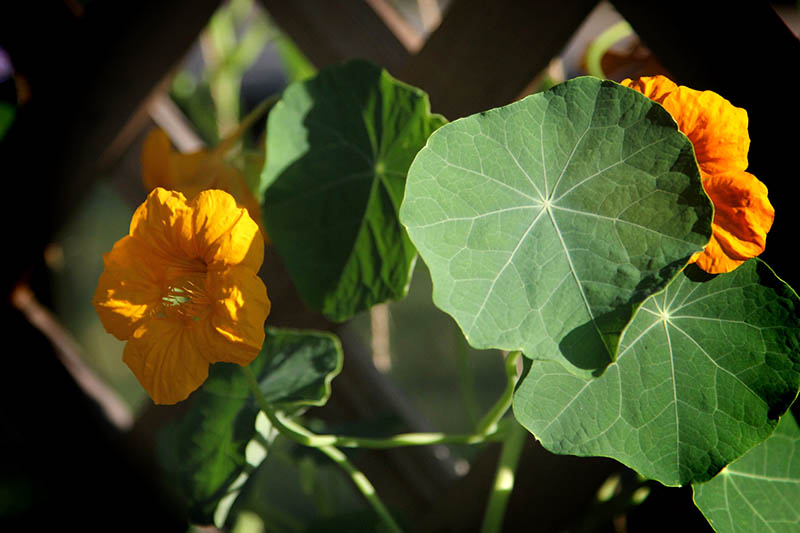
4. Nasturtiums
Nasturtiums? That’s right, the flower!
While nasturtiums, Tropaeolum spp., are beautiful, spreading to fill empty patches of the flower garden border or trailing from hanging baskets, their leaves, buds, and blooms are also peppery edibles.
Nasturtiums, both bush and vine types, are hardy annuals in Zones 4 through 8. If you’re gardening in Zones 9 through 11, it’s possible these tasty edible plants will overwinter as perennials. Either way, they self-seed readily as well.
Even if you’ve only got a container or two of growing space, you can still start nasturtiums in average to poor soil after all danger of frost has passed.
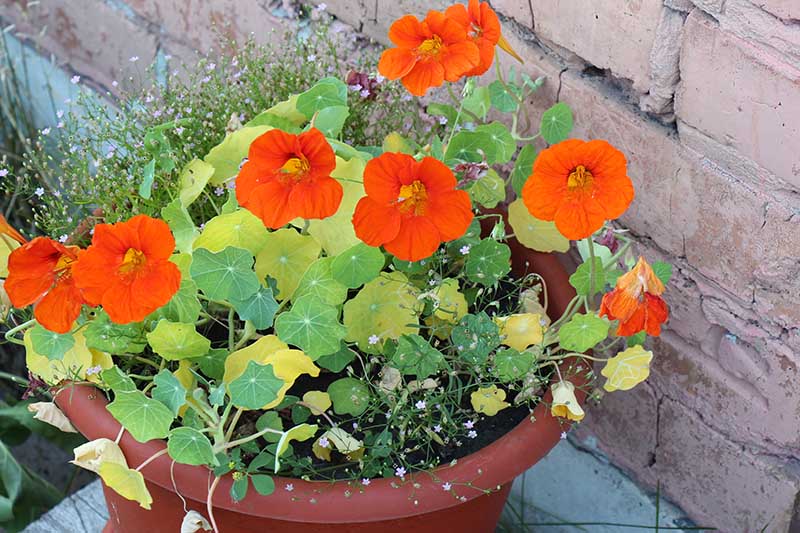
They’ll germinate in 10-14 days, and produce true leaves for you to nibble on a week or two later.
As the plants continue to grow, you’ll also be able to eat the blooms, but they typically take 30-52 days to flower.
At the end of the season, after flowering, you can collect the seed pods and pickle them – they have a taste similar to that of capers.
In general, dwarf bush varieties grow edible leaves more quickly and bloom earlier than their vining counterparts.
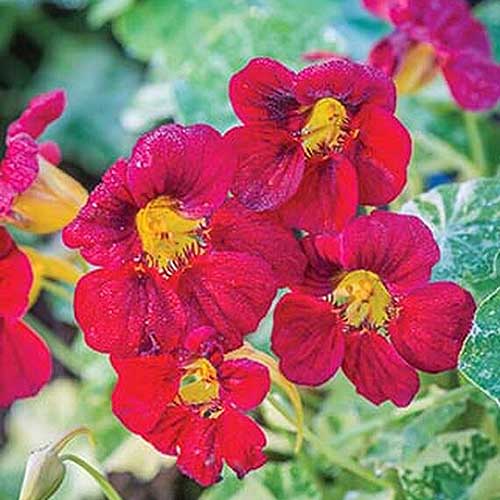
But vining nasturtiums, like the ‘Troika Red’ cultivar available from Burpee, can climb up to six feet, which means they produce more edible leaves over time – perfect for summer salads.
Our guide to growing nasturtiums has all you need to know to produce early edible leaves and bountiful tasty blooms later.
You can find a wide array of nasturtium seeds in packets of 50 available at Burpee, and in packets of various sizes from True Leaf Market or at Eden Brothers.
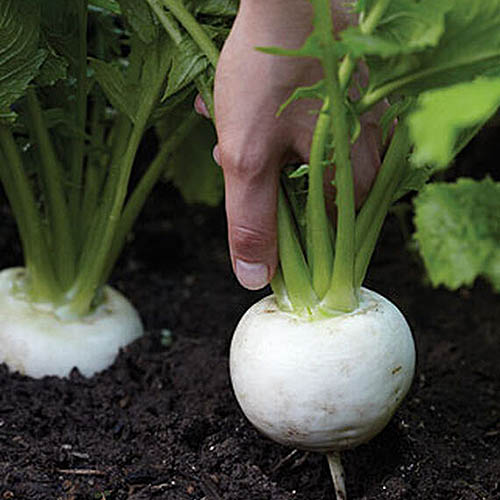
5. Onions from Sets or Seedlings
Typically, growing storage onions, Allium cepa, means early tilling, lots of watering, and a long wait (up to six months!) between planting and harvest.
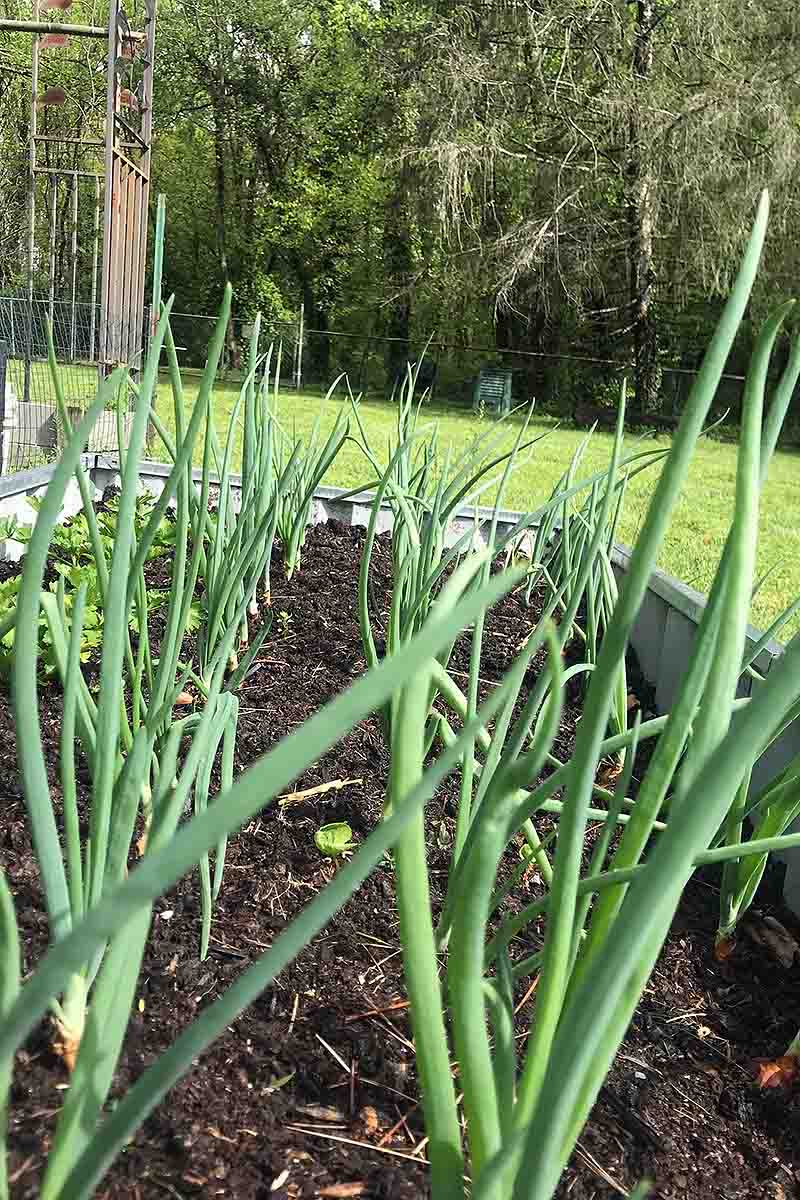
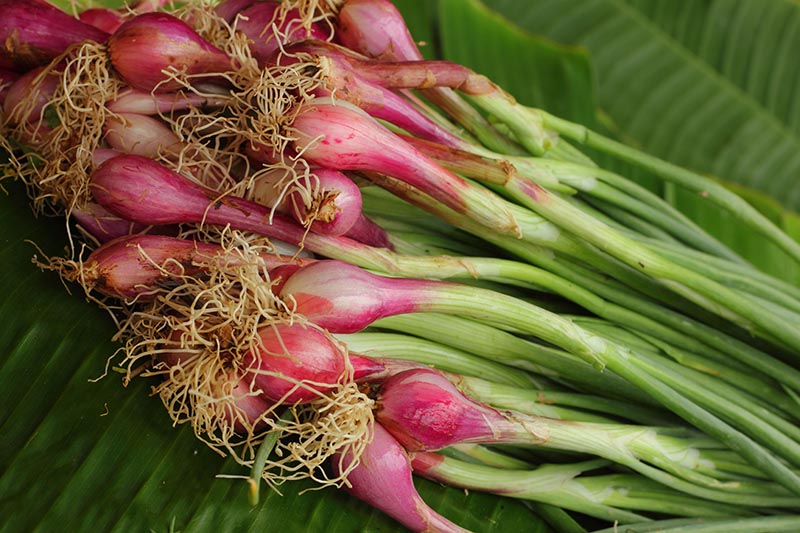
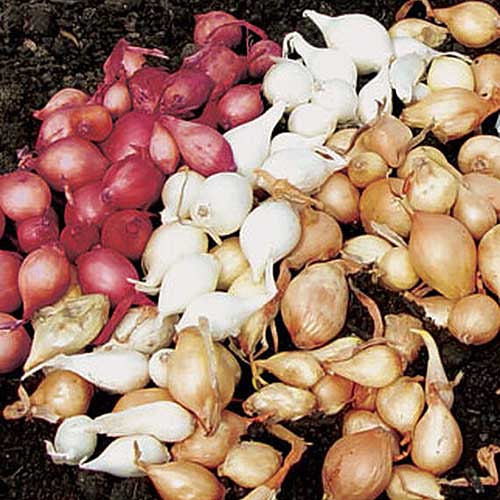
But if you choose to grow onions from sets, which are small bulbs, or nursery seedlings, you can enjoy a bit of green onion flavor much earlier in the season.
Some green onions will mature in as little as 30 days if you plant them from seedlings instead of from seed. There are even purple and sweet bulb onions you can grow this way, too.
Or, get the best of both worlds.
Plant bulb onions from seedlings or sets, and snip the leaves that sprout within a few weeks of planting in early spring.
The onions won’t miss a few of these shoots, which are delicious in stir fries, chopped to top soups or tacos, or in salads.
Later in the season, you can harvest the bulbs.
Of course, to succeed with storage onions you’ll still have to plan according to whether your area requires long- or short-day onion varieties. I’m fortunate because my local feed store sells the short-day sets that are ideal for growing in my garden in Zone 7a.
But you can also opt for day neutral onions, which form bulbs no matter when the sun sets in summer. All you need to guide you to a successful onion crop can be found in this onion growing guide.
You can find a collection of 300 onion sets from Burpee and 75-plant bunches of other varieties also at Burpee.
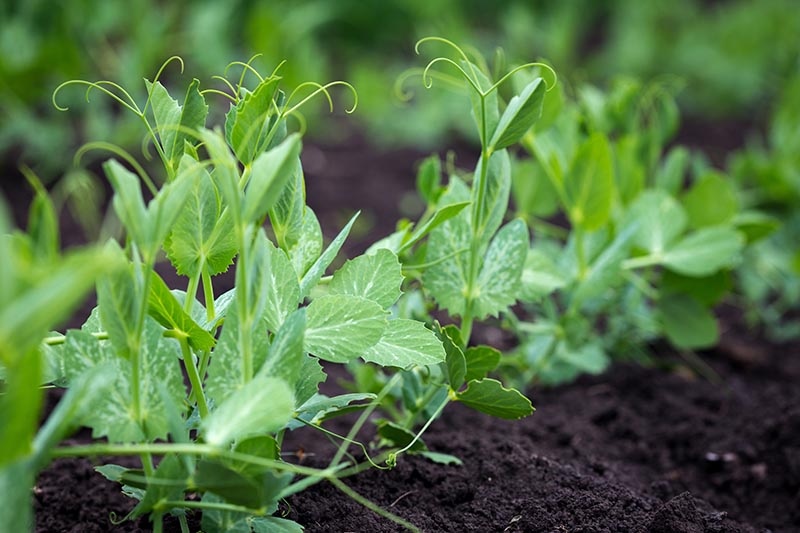
6. Pea Shoots
I admit that after all these years of growing snow peas, snap peas, and ‘Tom Thumb’ shelling peas, I only recently started nibbling the greens from the garden.
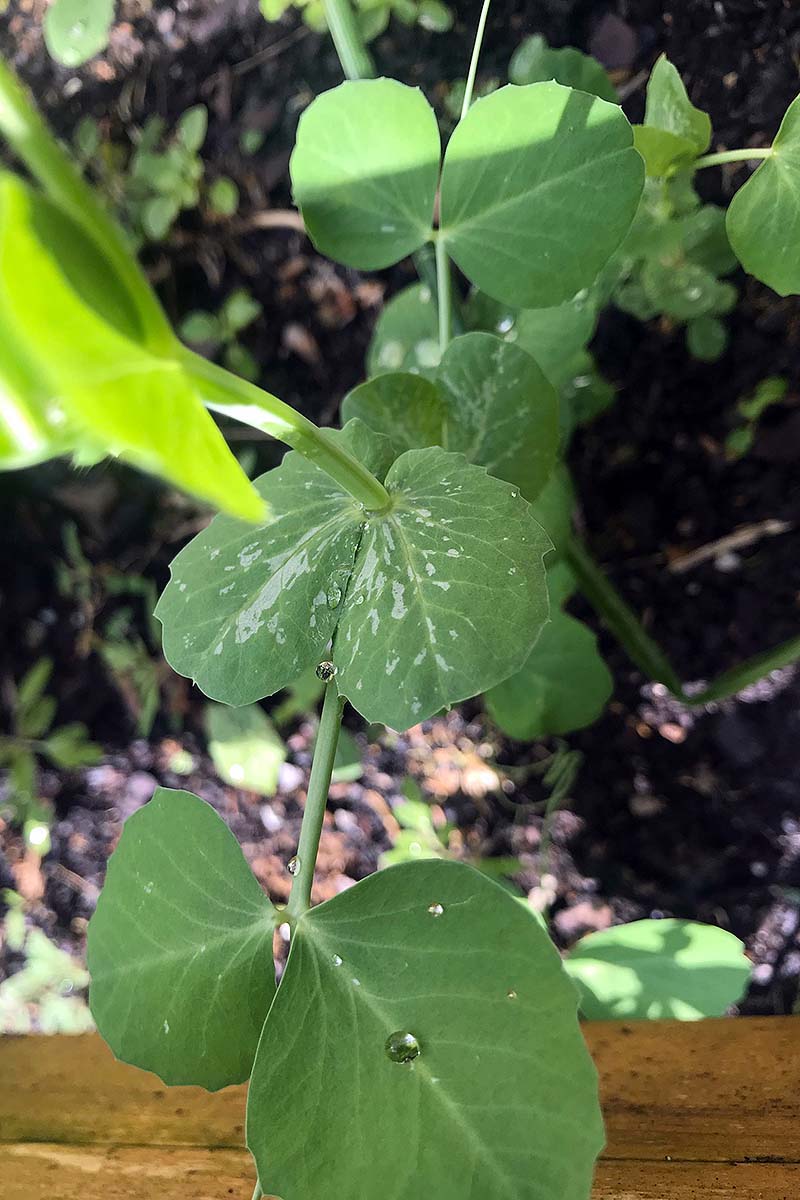
For me, this is a great find. Because while nothing compares to sweet, crispy, homegrown peas, they take 70-90 days to reach the point where I can start gobbling them right from the vine.
However, the baby shoots brighten the early spring menu within just a few weeks of planting.
Peas (Pisum sativum) can take a while to germinate. If you plant them when the soil is still cool, around 38°F, they may not sprout for 21 to 30 days.
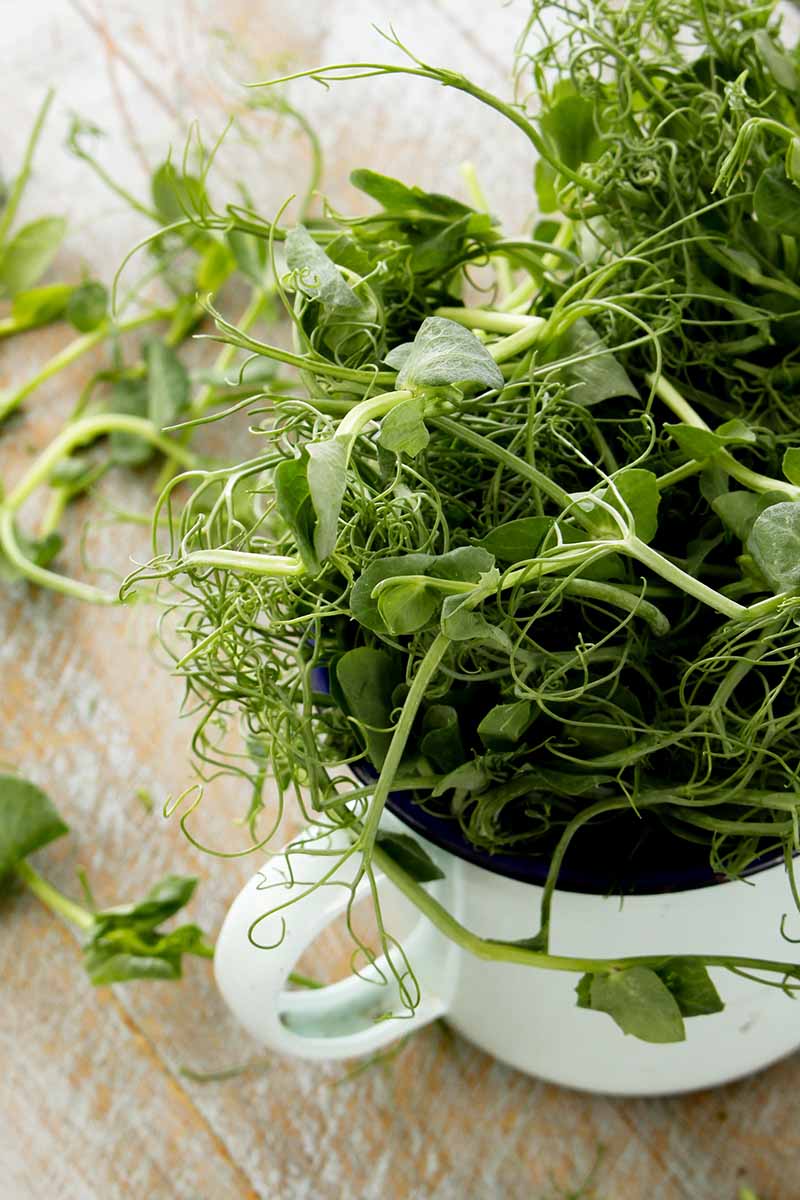
After that, though, you can pinch the entire plant at the base and it’s ready to wash and toss in a salad or on a vegetable tray.
If you can wait until the temps reach 65-70°F, your pea seeds will sprout within a week or two. But if you sow outdoors too late, you run the risk of the plants not producing full-size peas or pods before the weather gets too hot.
For a pea shoot harvest within 30 or 40 days, sow peas and let them grow to 6 inches or so. Then clip off the top set of leaves for snacking.
You can usually repeat this process a couple of times before the plants get too tall, or the pea leaves start getting tough and not as tasty.
Keep in mind that repeat harvests of the shoots will be too hard on any plants that you’re counting on for a later pod or pea harvest, so don’t go there.
Plant a few extras as dedicated pea shoot providers. Be prepared for that harvest to stop once the plants have grown taller than 10 inches and the shoots get too tough.
If you’re just trying to pep up your early spring homegrown ingredient list, consider starting pea shoots indoors using a heat mat to speed up germination.
Plant more of them, more closely spaced than you would if you started them outdoors.
And speaking of planting extra peas for early pea shoot yields, don’t skimp! The sweet, tender young pea leaves are pretty tasty and habit-forming. Even if I’m sowing mine outdoors, I usually plant at least two extra in between the seeds I plant for mature crops.
For more information, consult our comprehensive guide to growing peas in the home garden.
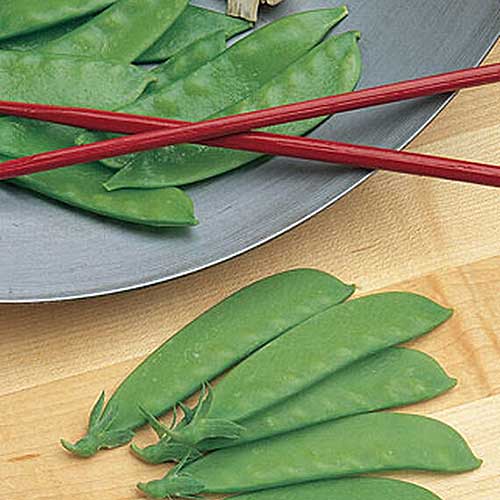
For an early maturing variety, I recommend ‘Oregon Sugar Pod II.’ As a vigorous bush pea, it grows more quickly than most vining pea plants, which means more tasty tendrils and shoots on a speedier schedule.
You can find seeds for ‘Oregon Sugar Pod II’ in packets of 300 available from Burpee.
A wide selection of seeds for pea, sugar pod, and snow peas is available at Burpee, also from True Leaf Market, and at Eden Brothers.
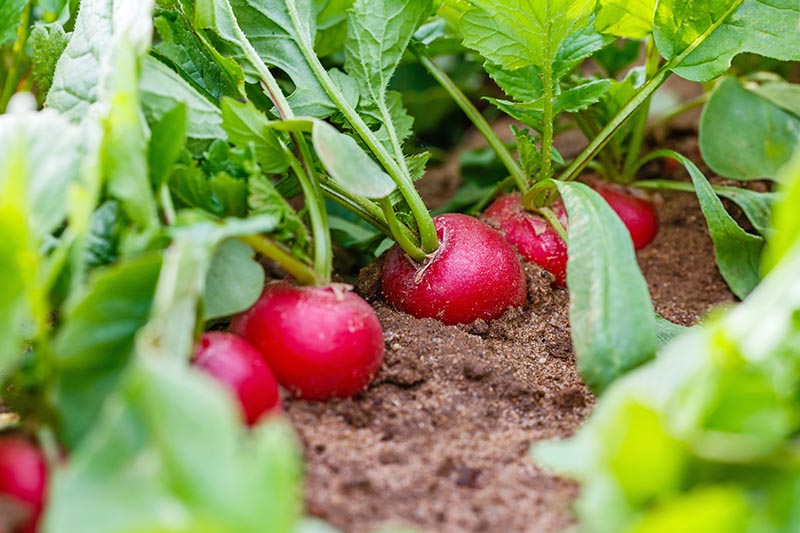
7. Radishes and Radish Greens
Oh joy! Radishes, Raphanus sativus, are like the vegetable counterpart to crocuses, heralding the arrival of warm weather and thriving even if your area catches an extra freeze or snowfall in early spring.
These delightful orbs are hardy in Zones 2-10 and germinate zip quick, sprouting three or four days after planting. Typical varieties are then ready to pull 28-30 days later.
Check out this guide, how to grow radishes in your veggie patch, for the full story on the crispest and highest yield radish crop.
But when you plant radishes for an early homegrown vegetable, don’t overlook the greens.
While the bulbs are still growing, you can clip baby leaves from the radish plants and add them to salads or atop pizza slices.
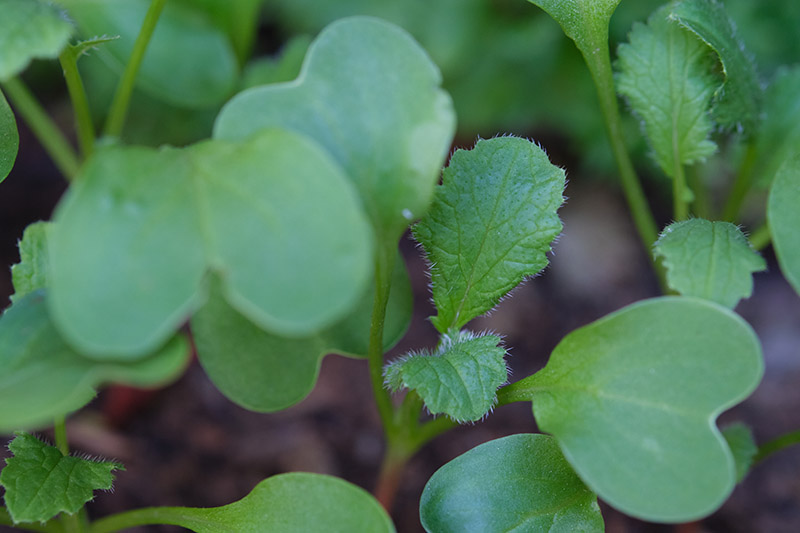
Alternatively, you can steam or saute the greens when they’re 14-28 days old, like you would kale or spinach. Just make sure you only harvest a few at a time as the roots require the leaves attached to photosynthesize, in order for them to grow.
But don’t rush out to plant any old radish variety in your enthusiasm for enjoying some early greens with your pasta or in minestrone.
Daikon, and other “winter” radish varieties, grow better when you plant them in late summer as a fall crop. Since these big radish varieties take much longer to produce greens or roots than their tiny cousins, they aren’t a good choice for hurry-up-and-harvest plants.
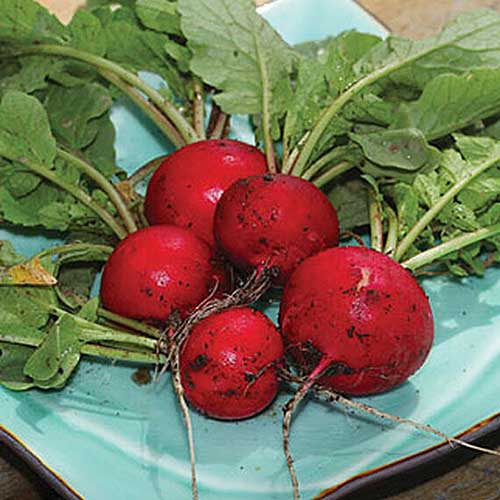
‘Early Scarlet Globe’ produces bright red, round radishes with crisp, mild white flesh. This cultivar matures in just 20 days.
Find ‘Early Scarlet Globe’ seeds in packets of 300 available at Burpee.
As for quick-maturing long radishes, ‘Fire ‘N Ice,’ a type of French breakfast radish grows 3-4 inches long and matures in just 25 days.
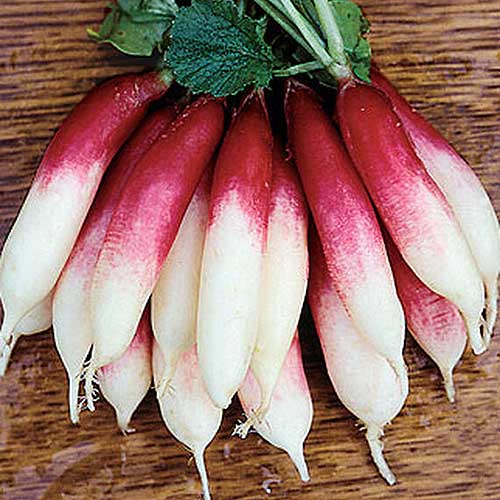
You can find packets of 300 seeds for this cultivar also at Burpee.
You can also find a wide variety of radish seeds in various size packets from Eden Brothers and at True Leaf Market.
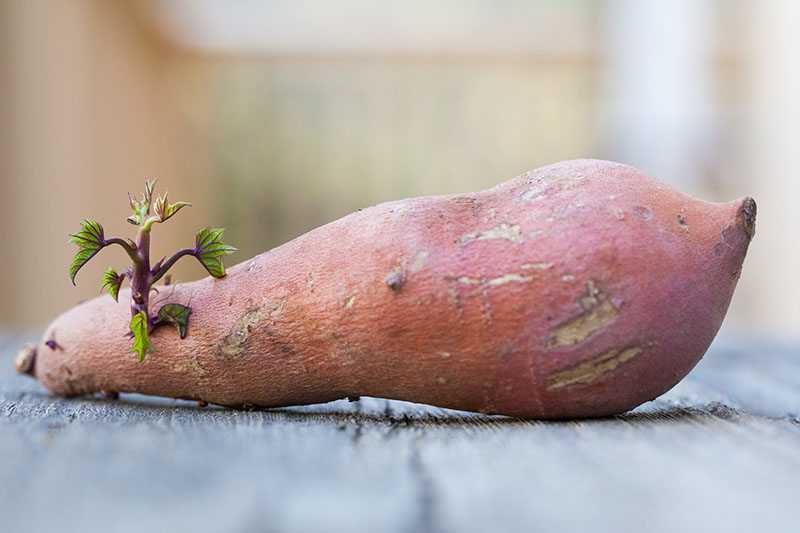
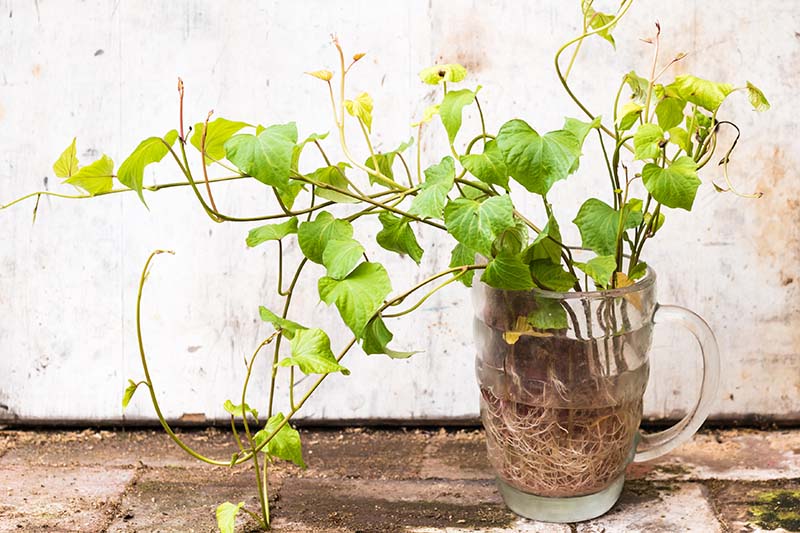
8. Sweet Potato Shoots and Leaves
Here’s a fast-yield veggie that may have already started growing on its own in the pantry with no encouragement from you.
The sweet potatoes(Ipomoea batatas) left in your veggie bin that have started to sprout may not be the best for baking, but the sprouts are plenty tasty on their own.
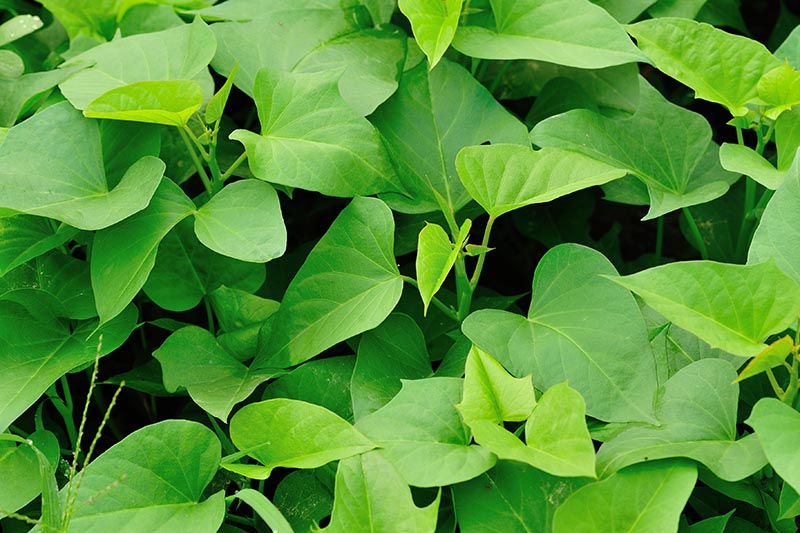
That’s right, while the leaves of ordinary potatoes (Solanum tuberosum) contain toxic levels of an alkaloid called solanine, sweet potato leaves and stems are entirely edible.
In fact, sweet potatoes are from a different plant family altogether, one that includes morning glories, and their leaves are prized in the tropics as a culinary ingredient. Also known as kamote or camote tops, you can prepare them in much the same way as you would spinach or kale.
If you want to grow some tasty sweet potato slips to sample before the root crop comes through after 90 to 120 days, you’ll start with a mature tuber – and can expect results in a matter of weeks.
They are suitable for growers in Zones 9 to 11. Check out this guide on how to grow sweet potatoes at home for more information.
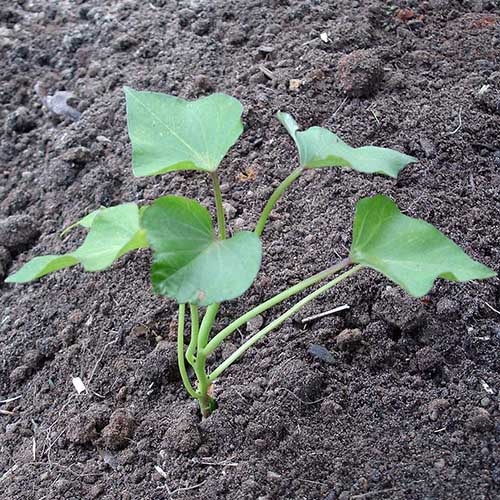
Whether you buy slips from a nursery, or start your own indoors, plants will yield an early harvest of edible tops, both leaves and stems.
Nibble on the young greens straight from the windowsill or garden, or add them to salads like you would baby spinach – just make sure you don’t harvest all the leaves, as the plant needs them to be able to continue growing.
If the sweet potato leaves get a bit older, they’ll taste best cooked.
Borrow from the spinach recipe book here, too, either sauteeing the leaves to add to dishes like quiche or omelets, or steaming them lightly to use in green smoothies in place of kale.
Sweet Potato Slips in Six-Packs
Sweet potato slips are available in six-packs from Bonnie Plants via Home Depot.
Alternatively, find a variety of bare root sweet potato plants available at Burpee.
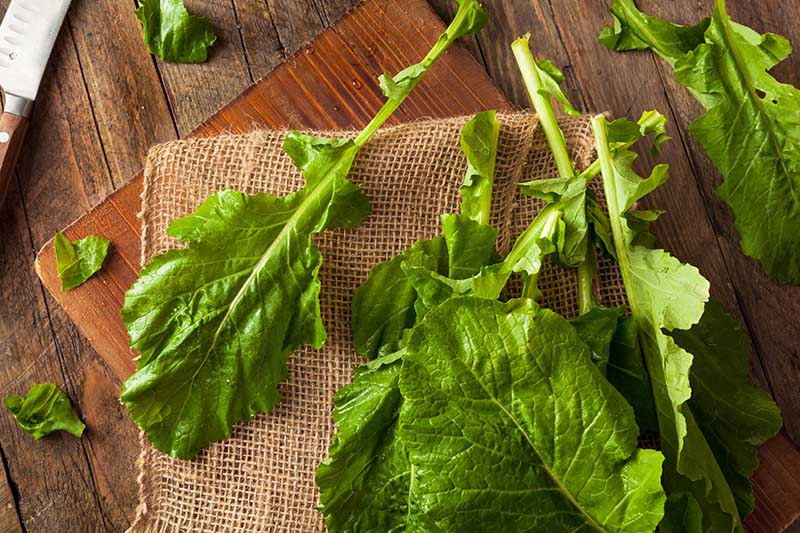
9. Turnip Greens
I don’t admit this often, but I don’t have much luck growing turnips, Brassica rapa subsp. rapa. Here in the South, the roots can get bitter or the plants can bolt in a hurry.
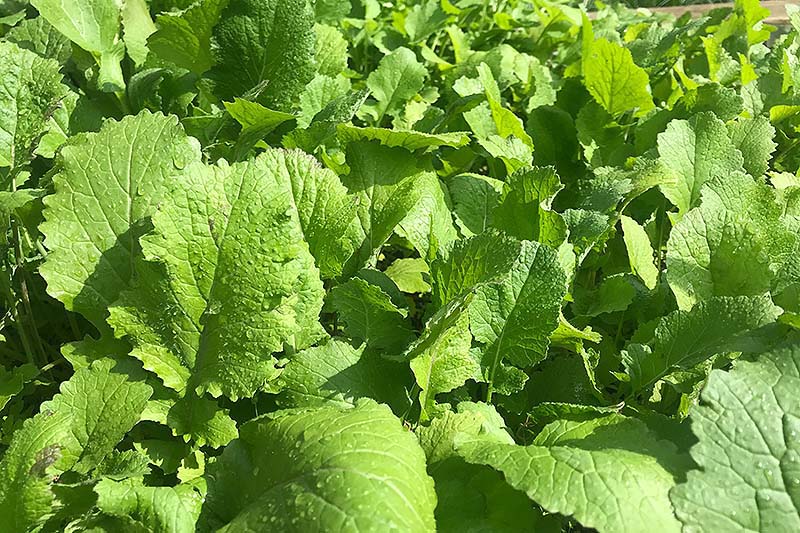
But I don’t have to forgo the crop altogether! Instead I focus on growing the greens, particularly ‘Seven Top,’ which is renowned for producing lush handfuls of greens on each plant but no turnip roots.
These early sprouts are a welcome sight in very early spring, when the whole family is eager to start eating fresh garden produce again.
And turnip greens are a delight for the impatient gardener. They’re hardy in Zones 2-9.
It is simplicity itself to scatter a few of the seeds on well-worked soil a week or two before your expected last frost, and pat a half inch of earth on top.
Turnip seeds germinate in 3-10 days, or up to two weeks if the soil is a bit cold. Within a few days, you can thin the first true leaves and add them to your salad.
Within a week, you’ve got 1.5- to 2-inch baby greens. I like to saute them for a springtime feast. You could use turnip greens as an alternative in this delicious recipe for garlicky beet greens from our sister site, Foodal.
And should you allow your turnips to grow so tall that the greens become too sharp in flavor and you’re growing a variety other than ‘Seven Top,’ you can turn to the root for enjoyment. Win-win!
For the complete scoop on growing turnips for greens or roots, check out our growing guide.
‘Tokyo Cross’ is a hybrid cultivar that produces full-grown turnip greens 20-25 days from planting, and tender globe-shaped roots 10 days from that.
Find ‘Tokyo Cross’ seeds in packets of 600 available at Burpee.
A variety of turnip seeds are also available in packets of various sizes from True Leaf Market and at Eden Brothers.
Greens Delivered from Your Garden in 30 Days or Less?
When you’re devoted to edible plants, it’s comforting to have a few you can start harvesting just weeks after planting. That way, you’ll have patience to spare for growing the crops that can take nine months or more between planting and harvest, like garlic.
And each of these quick-growing, fast-yield vegetables and herbs has another advantage:
If something goes wrong, you will typically have plenty of time to plant another round before season’s end.
Did I miss an obvious choice here? I’d love to hear your favorite varieties to plant for an early harvest in the comments section below. And if you’ve got a recipe to share, let’s hear it!
If you’re feeling inspired to get started growing a vegetable garden, you’ll need these guides next:
Photos by Rose Kennedy © Ask the Experts, LLC. ALL RIGHTS RESERVED. See our TOS for more details. Product photos via Burpee, Eden Brothers, and True Leaf Market. Uncredited photos: Shutterstock.
The post 9 Fast-Growing Vegetables and Herbs to Pep Up Your Pantry Menu appeared first on Gardener's Path.